Chapter 7
Once you get approval from Google adsene, you can place google ads in your blog website. This chapter explains how to place google ads in your blog website.
Step 1. Go to www.blogger.com and login using your Gmail Id and password. Click "Template" link as shown below.

Step 2. Now click the "Add a page element" link as shown in the page below.
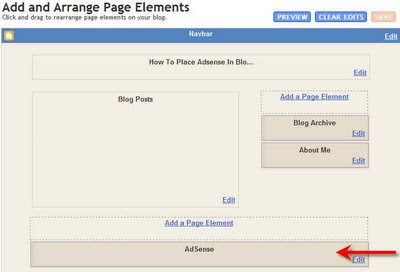
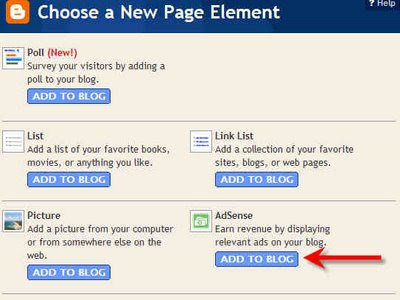
Step 3. Now you will get a pop up window. In this window you have many options. You have to click "Adsense" option as shown in the below page.
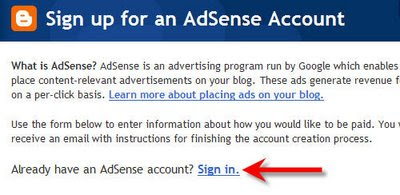
Step 4. Now you will get a page as shown below. Click "Sign in" link to place your adsense code in you blog.
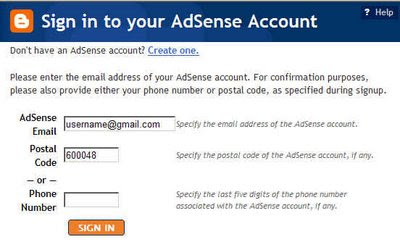
Step 5. Now enter your Gmail id which you used while applying google adsense and fill the details as shown below.
Step 6. Now you will get a page as shown below. You can select your ad format to display in your blog website.
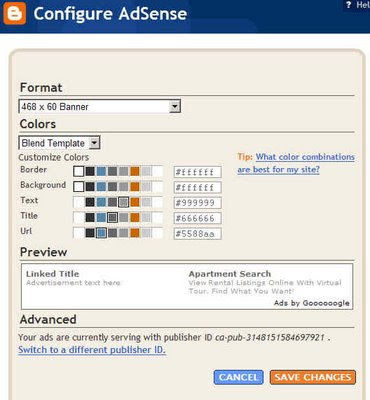
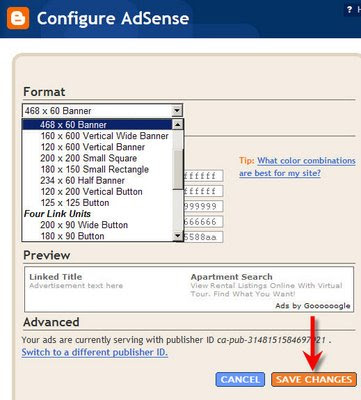
Step 7. Once you select your ad format, Click "Save changes" button.
Step 8. Now you have added the adsense to your blog website. Your adsense page element is placed as shown in the page below.

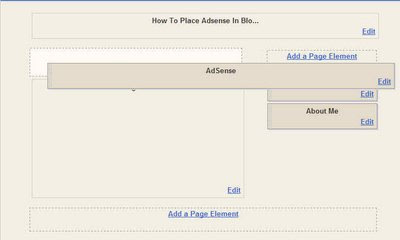
Step 9. Now you have to move the adsense page element to the top of the page as shown below. You can move this by dragging the adsense page element by pressing your right click mouse.
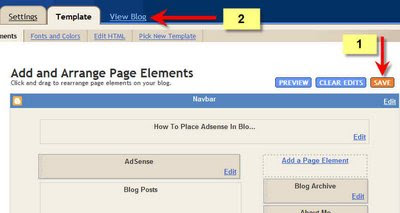
Step 10. Now you have to follow the steps 1 and 2 as shown in the below page. Click "Save" button and click "View blog" as shown in the page below.
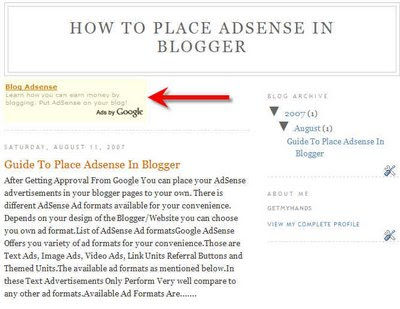
Step 11. Now you have successfully added your ad in your blog website. You can see the below page with your google ads.


0 comments:
Post a Comment